
Board Hanger Installation
1.
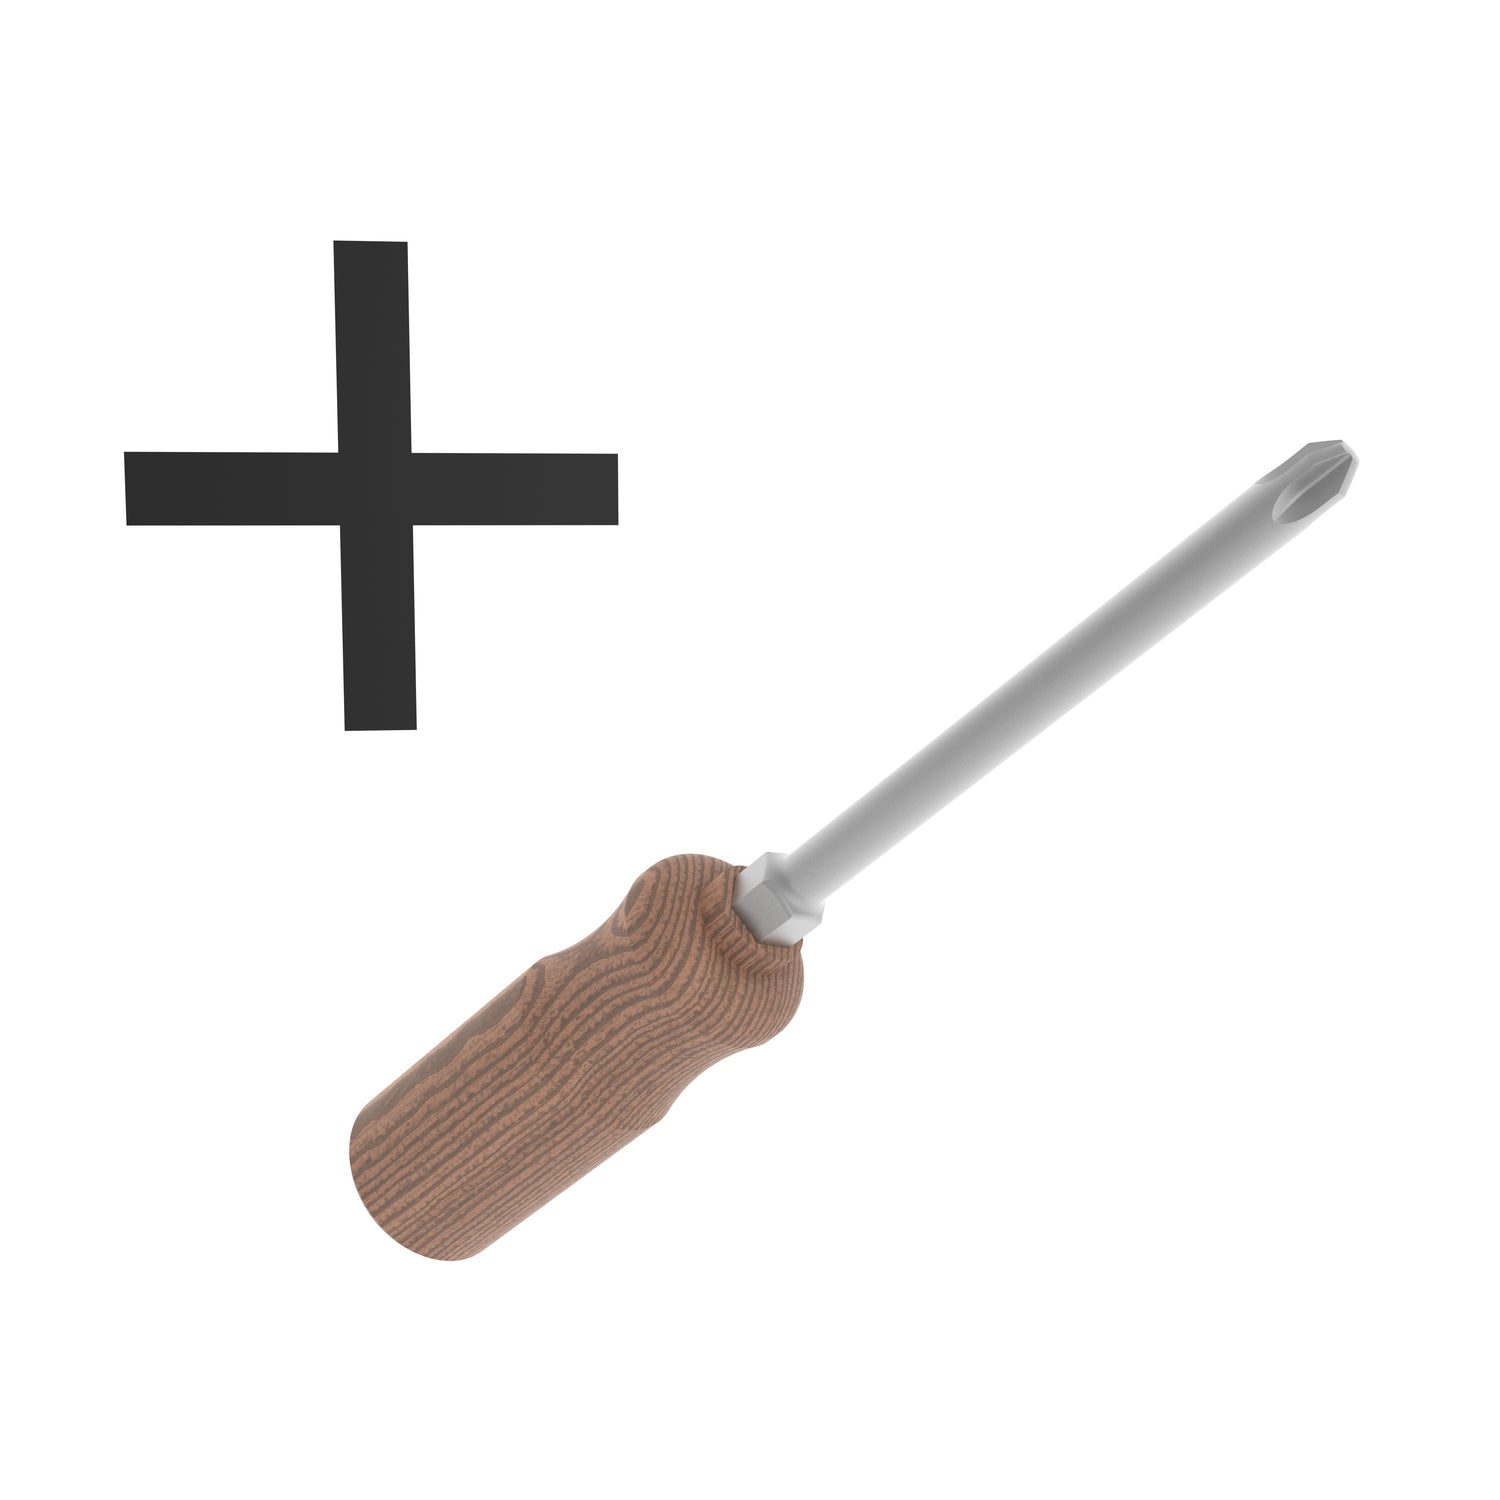
Gather tools - The only tool you need to install a board hanger will be a Phillips head screwdriver (The head looks like a "+" sign)
2.
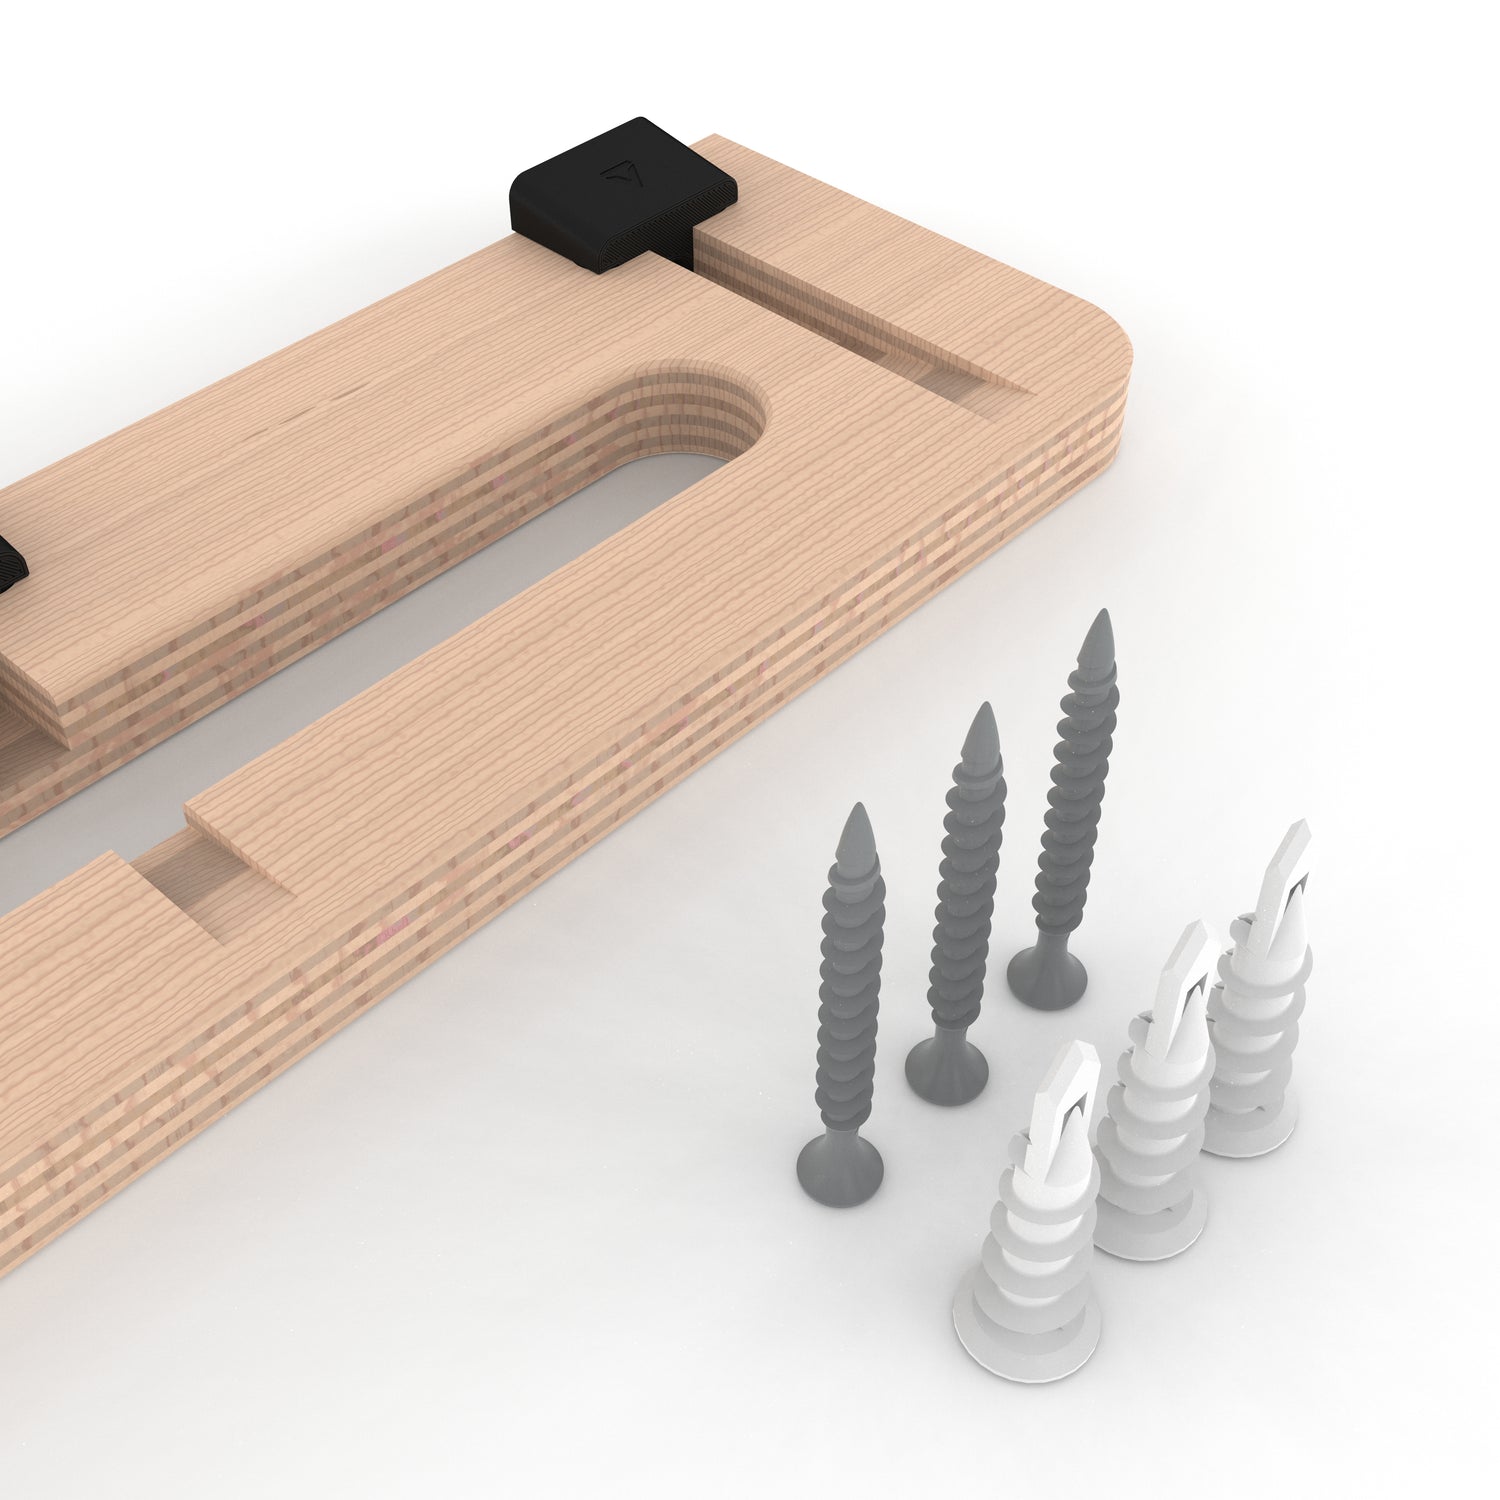
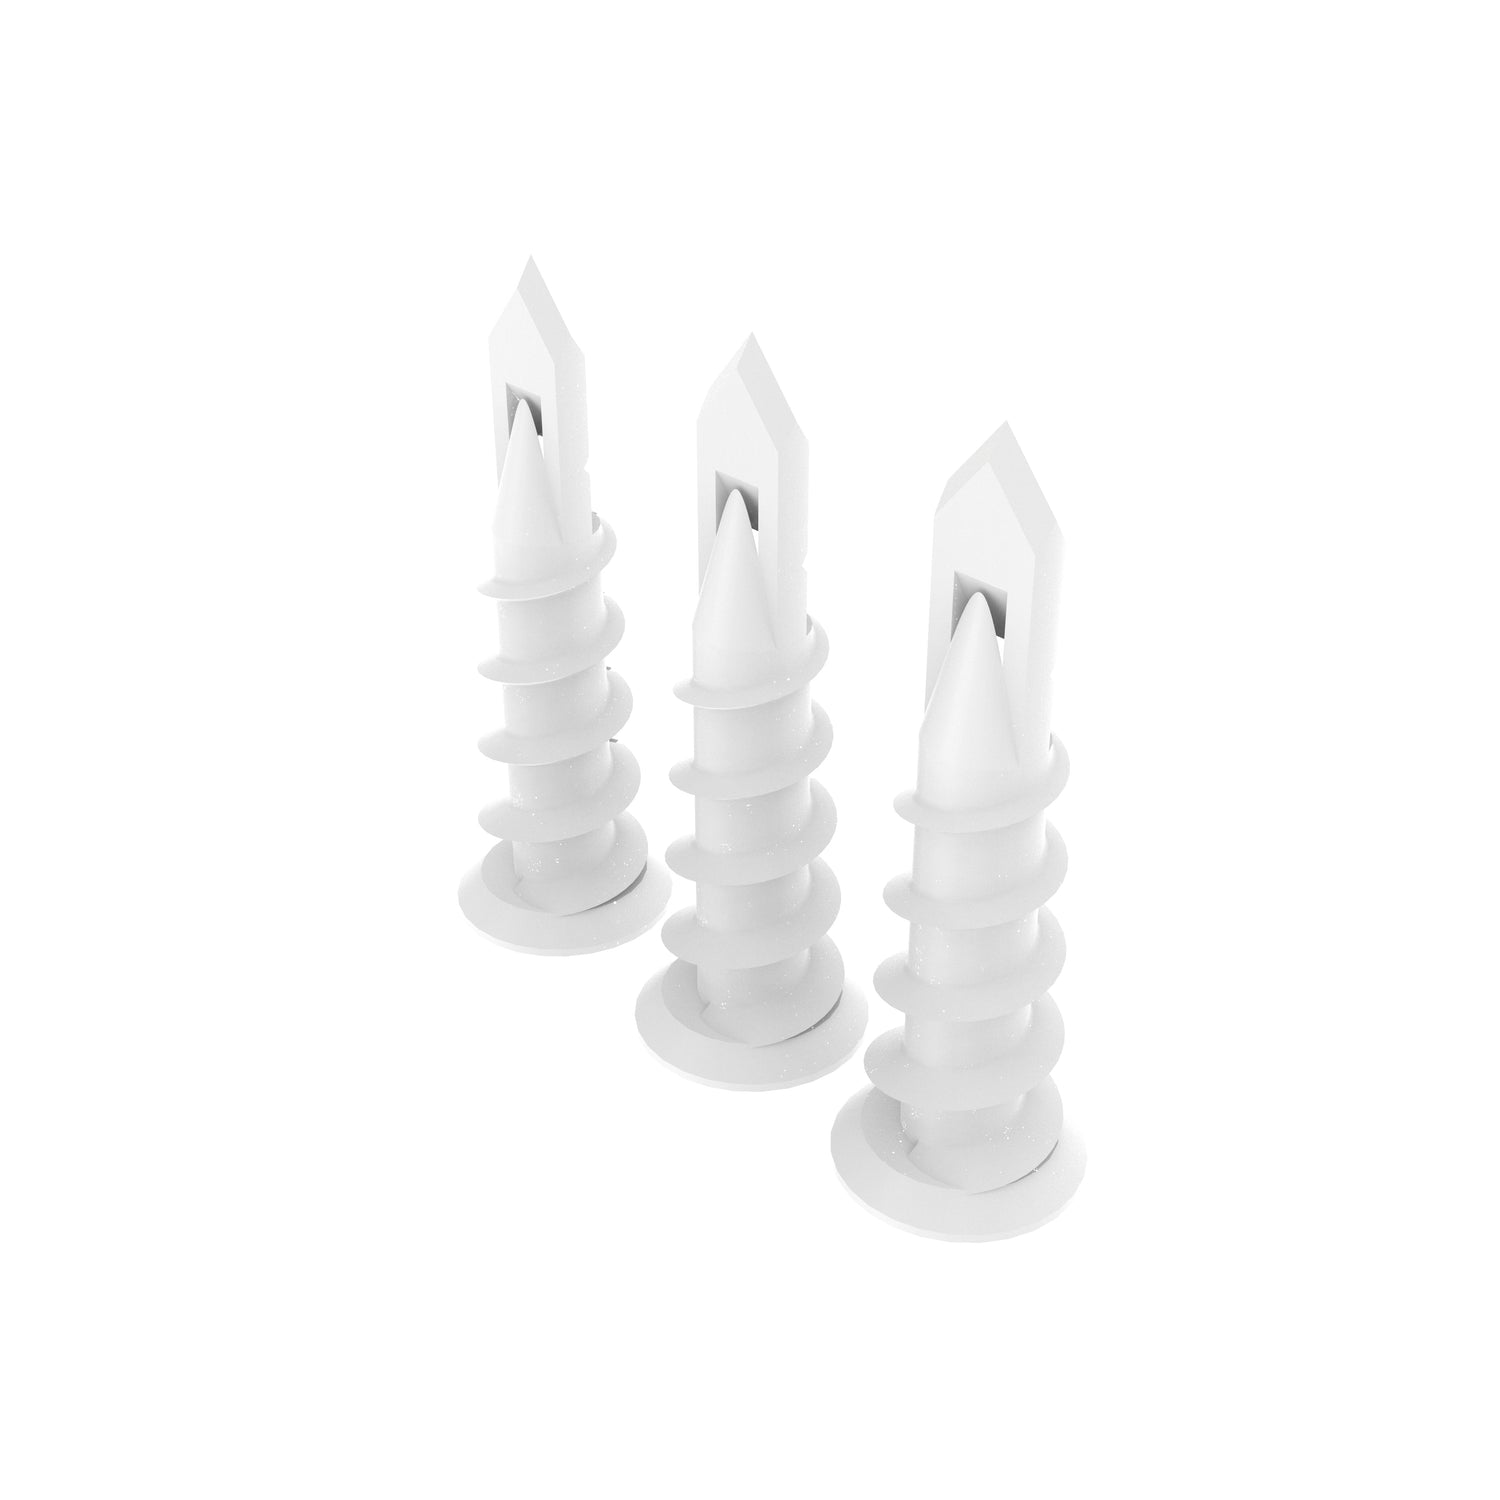
Check parts - Make sure you have 3 screws, and 3 wall anchors provided by us.
3.
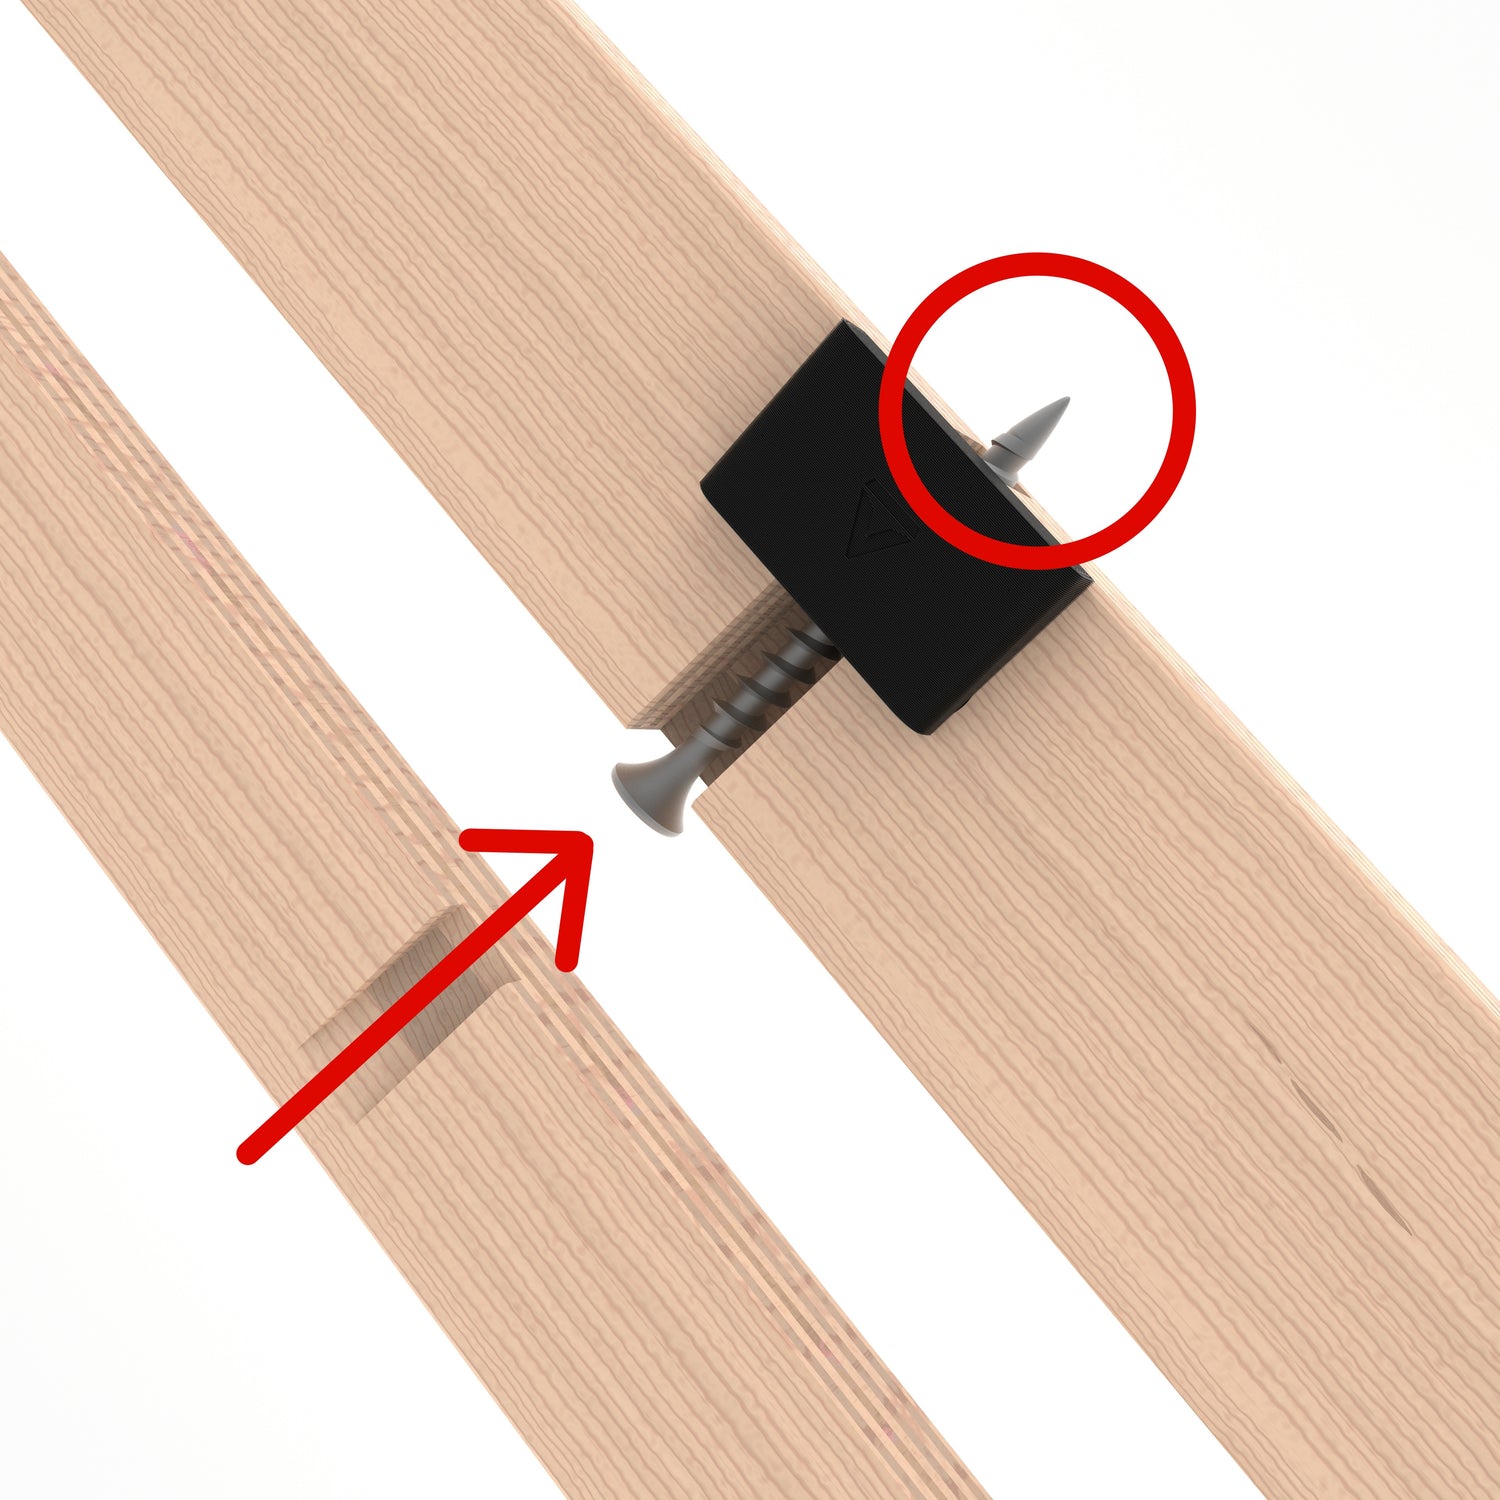
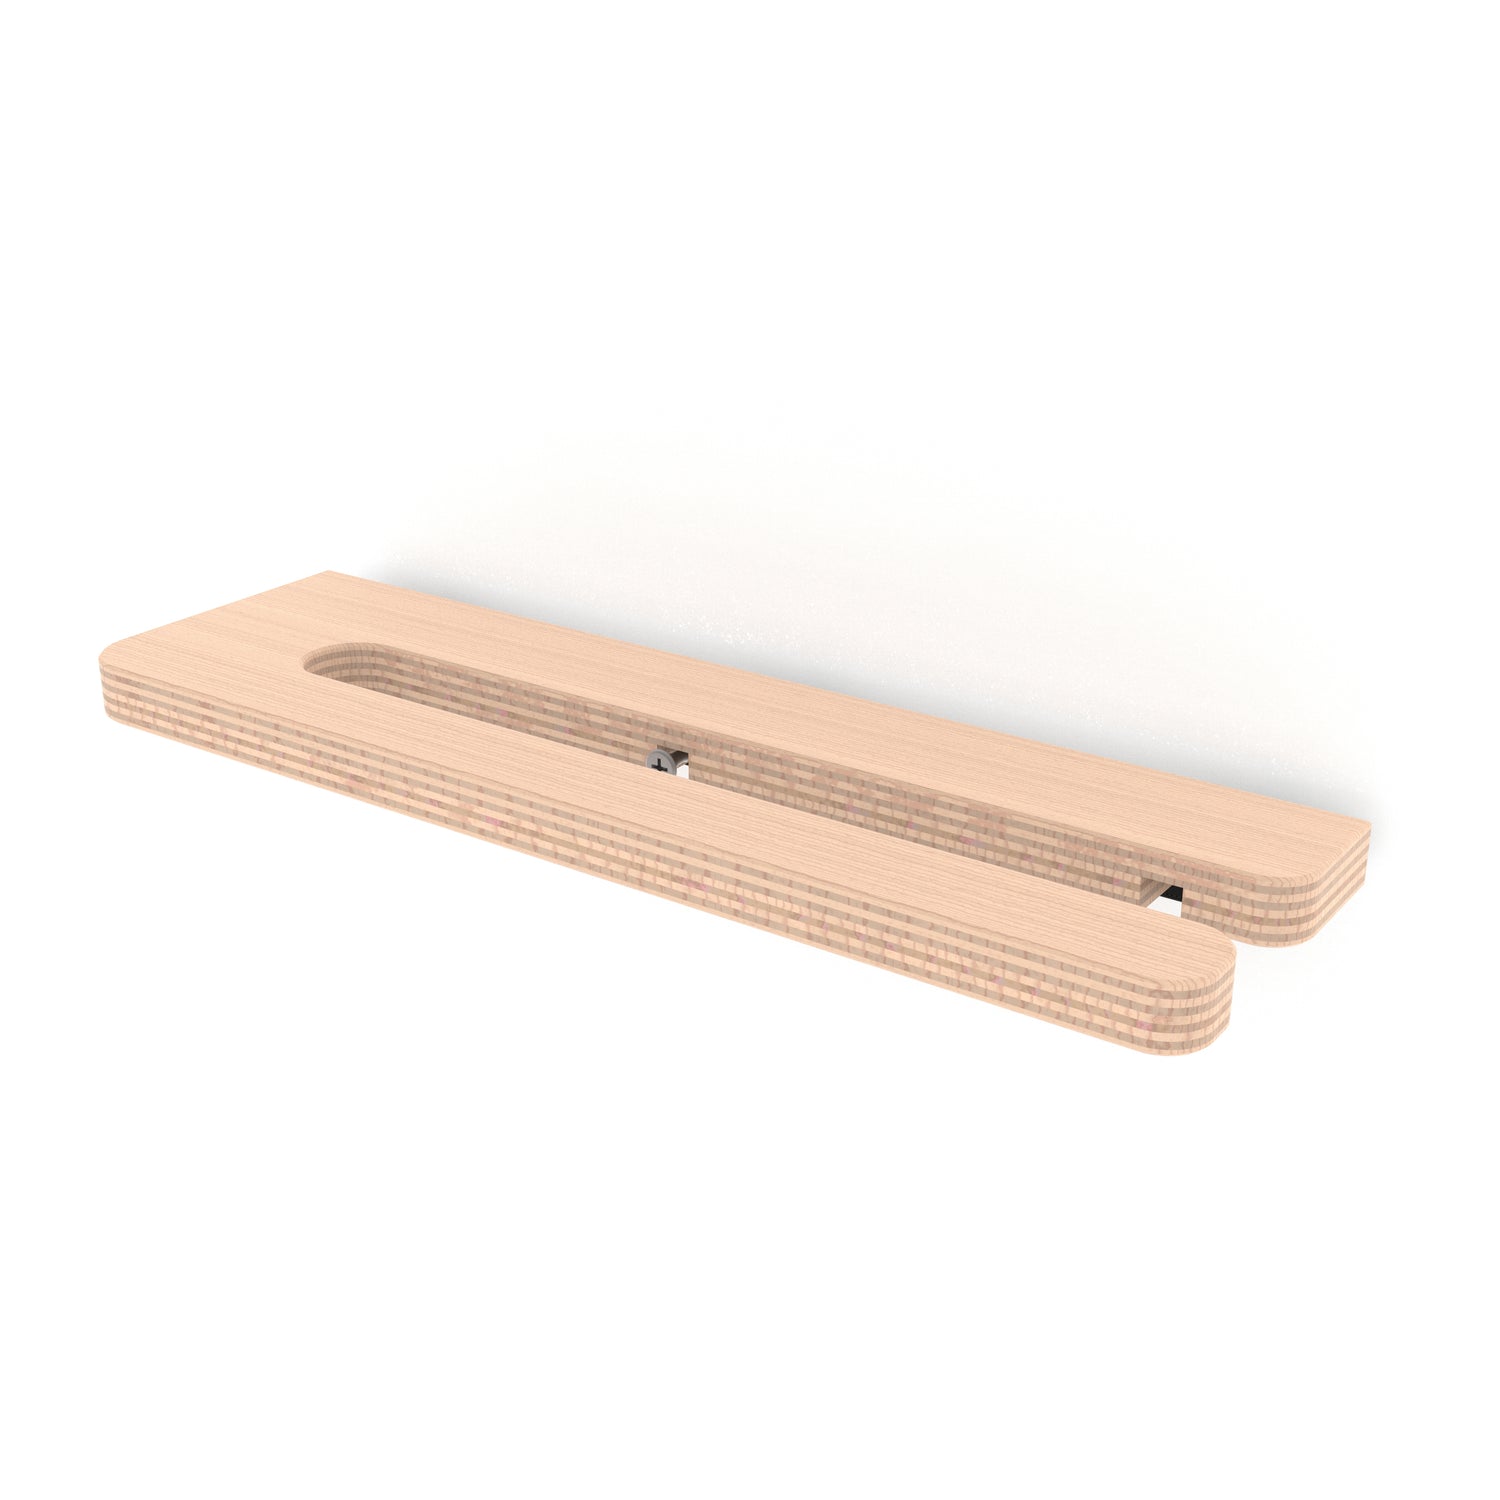
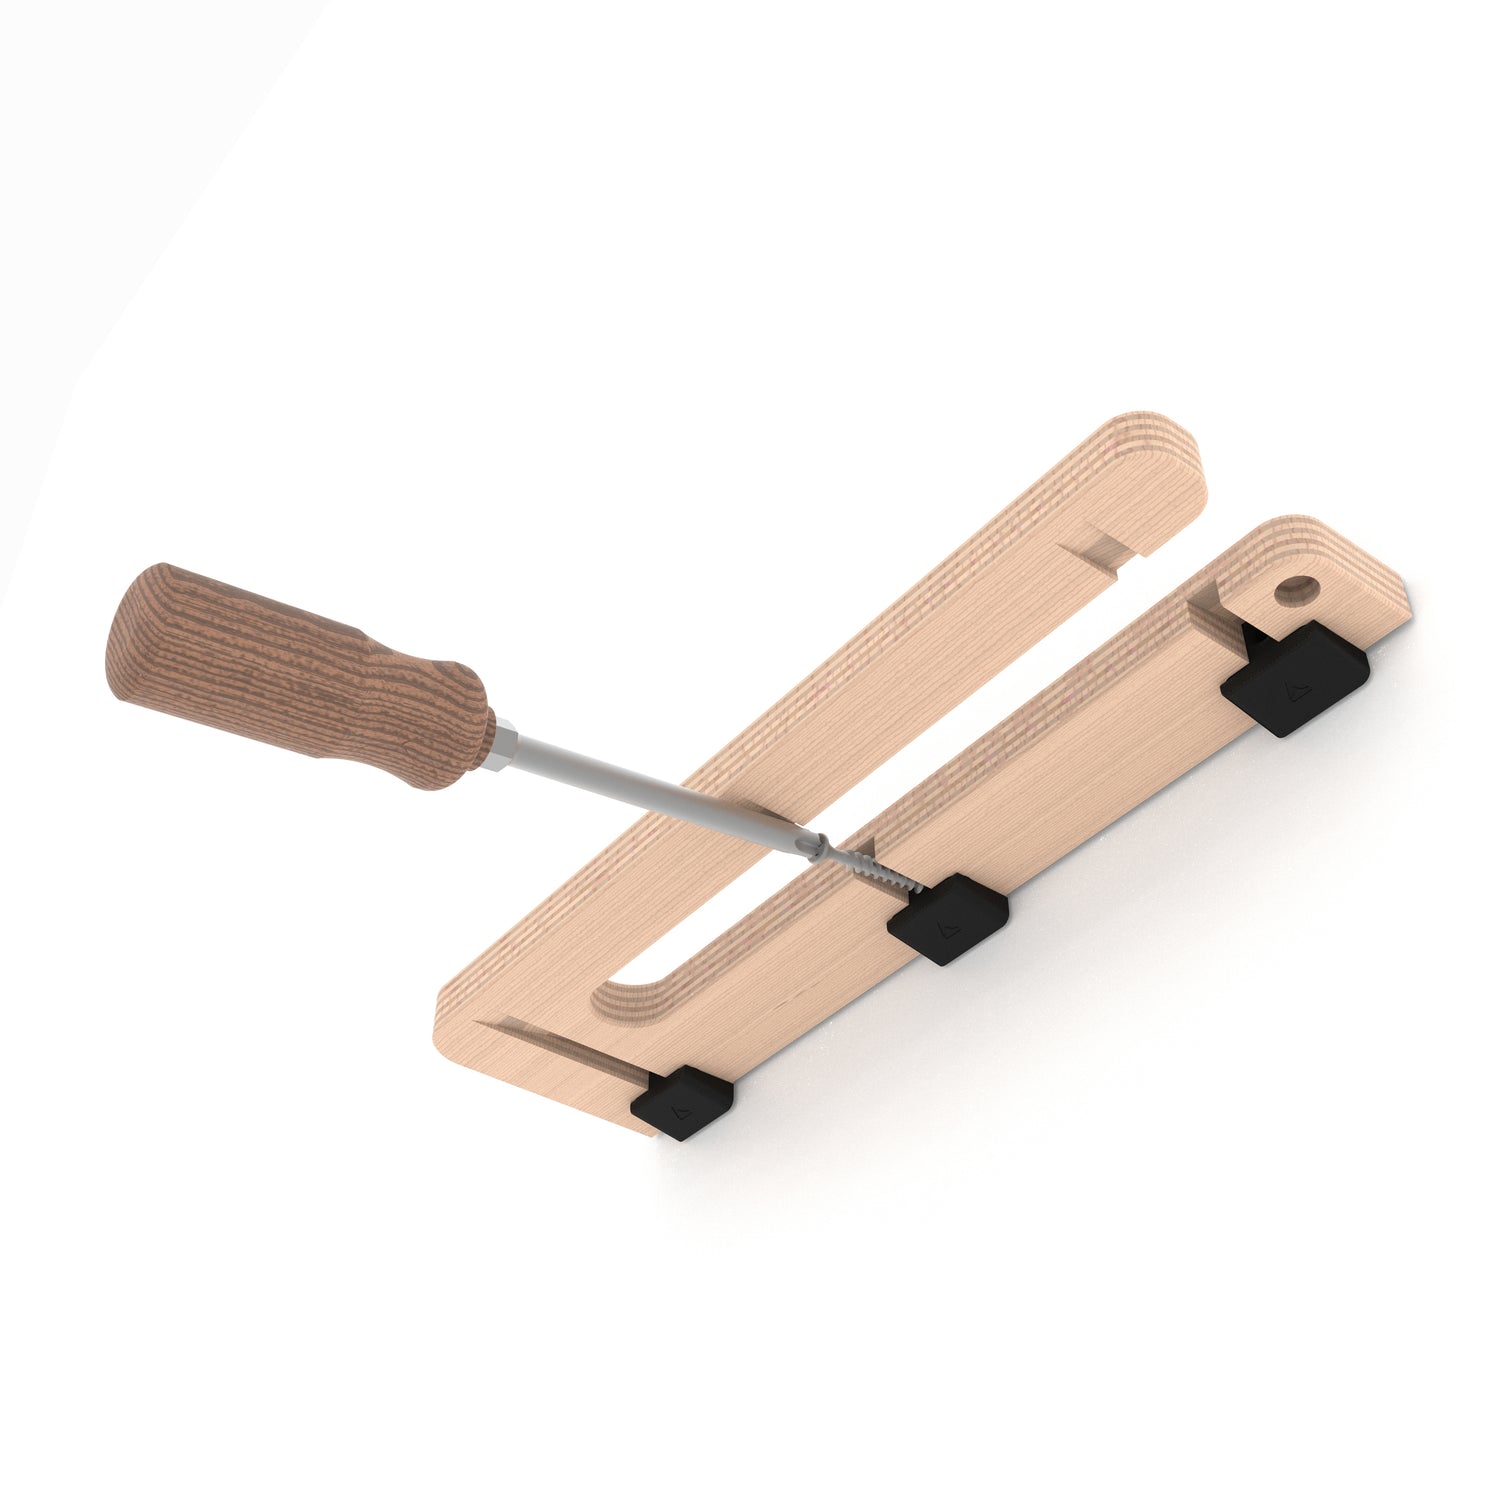
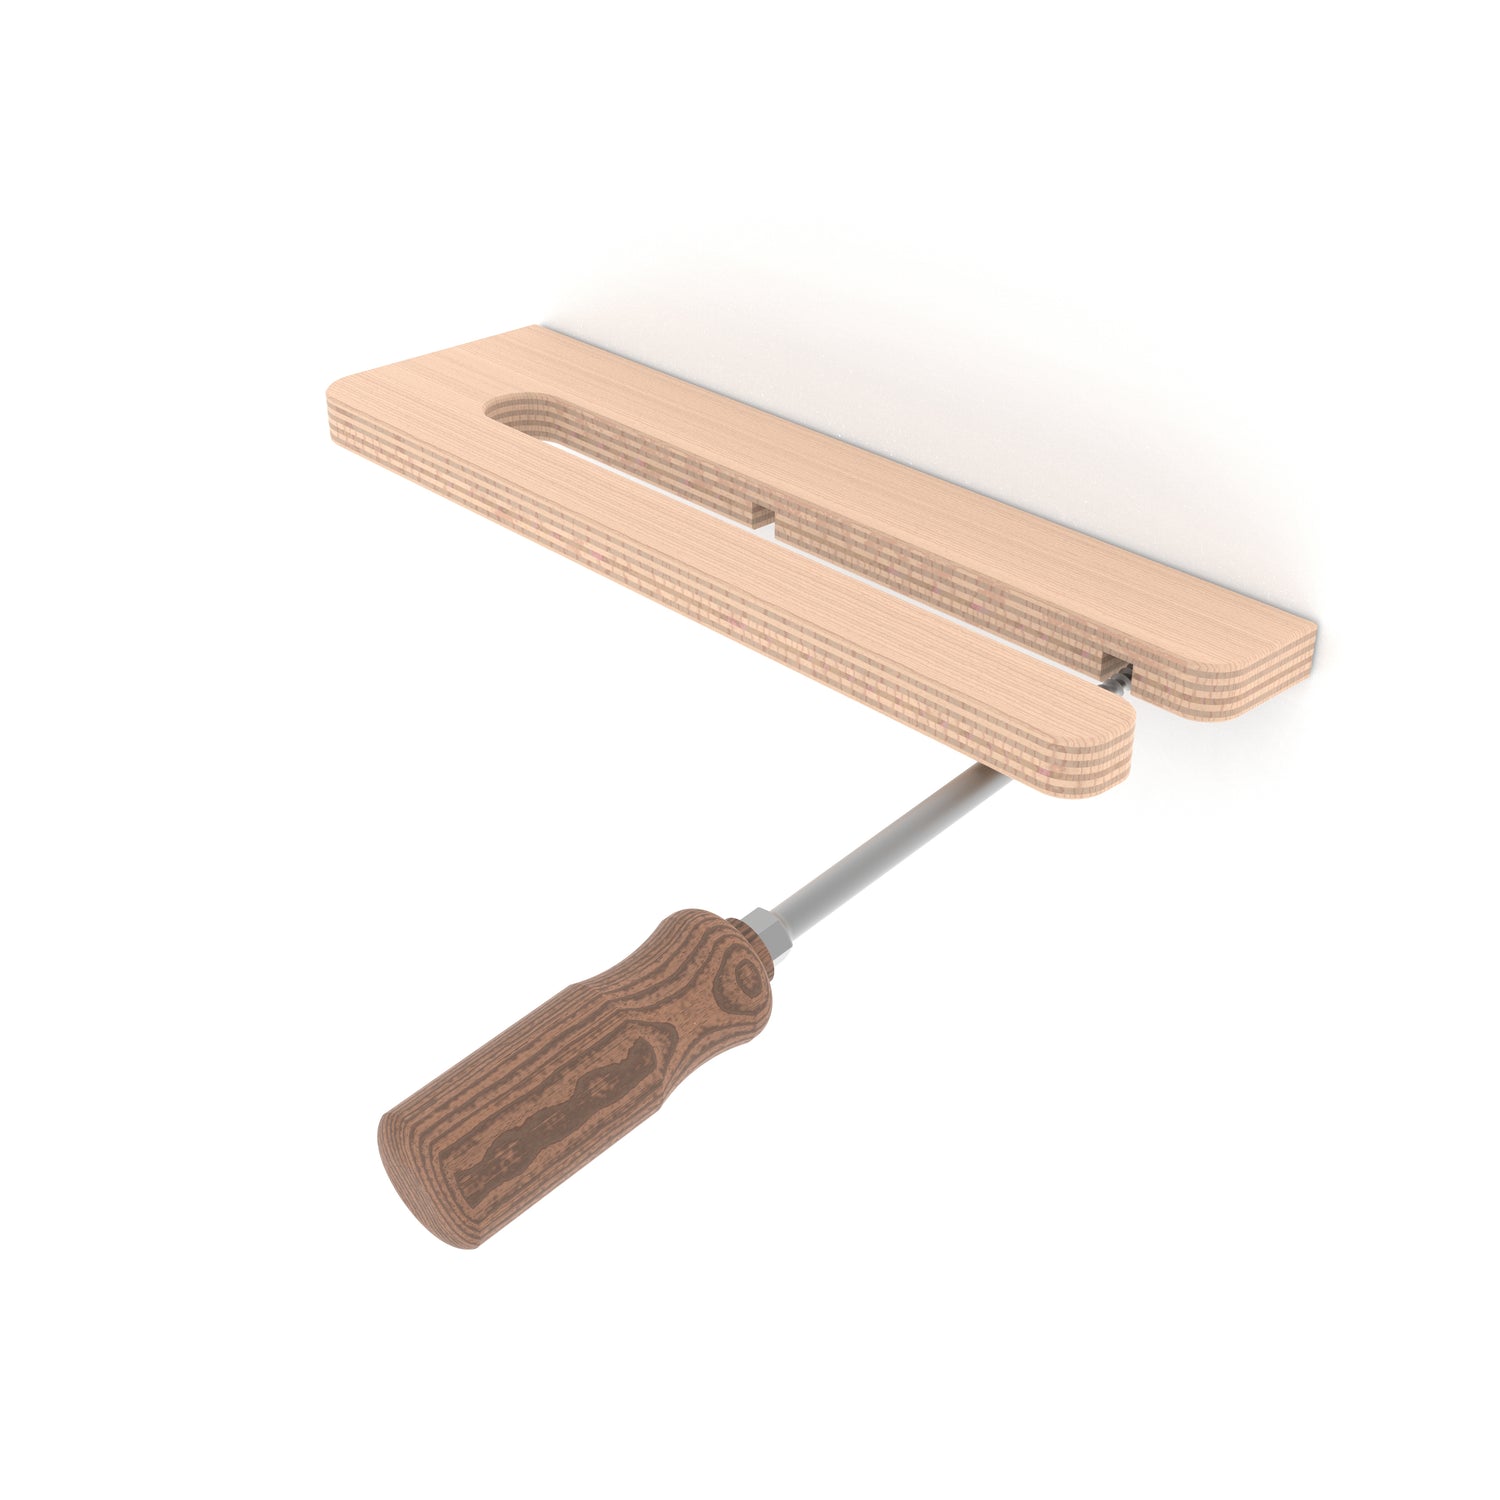
Preparation - Insert a screw to the middle position, but not all the way through.
4.
Locate where to install - Find a suitable location for where you would like the board holder. It is best practice to place the center screw where it will connect with a wall stud, but not completely necessary.
5.
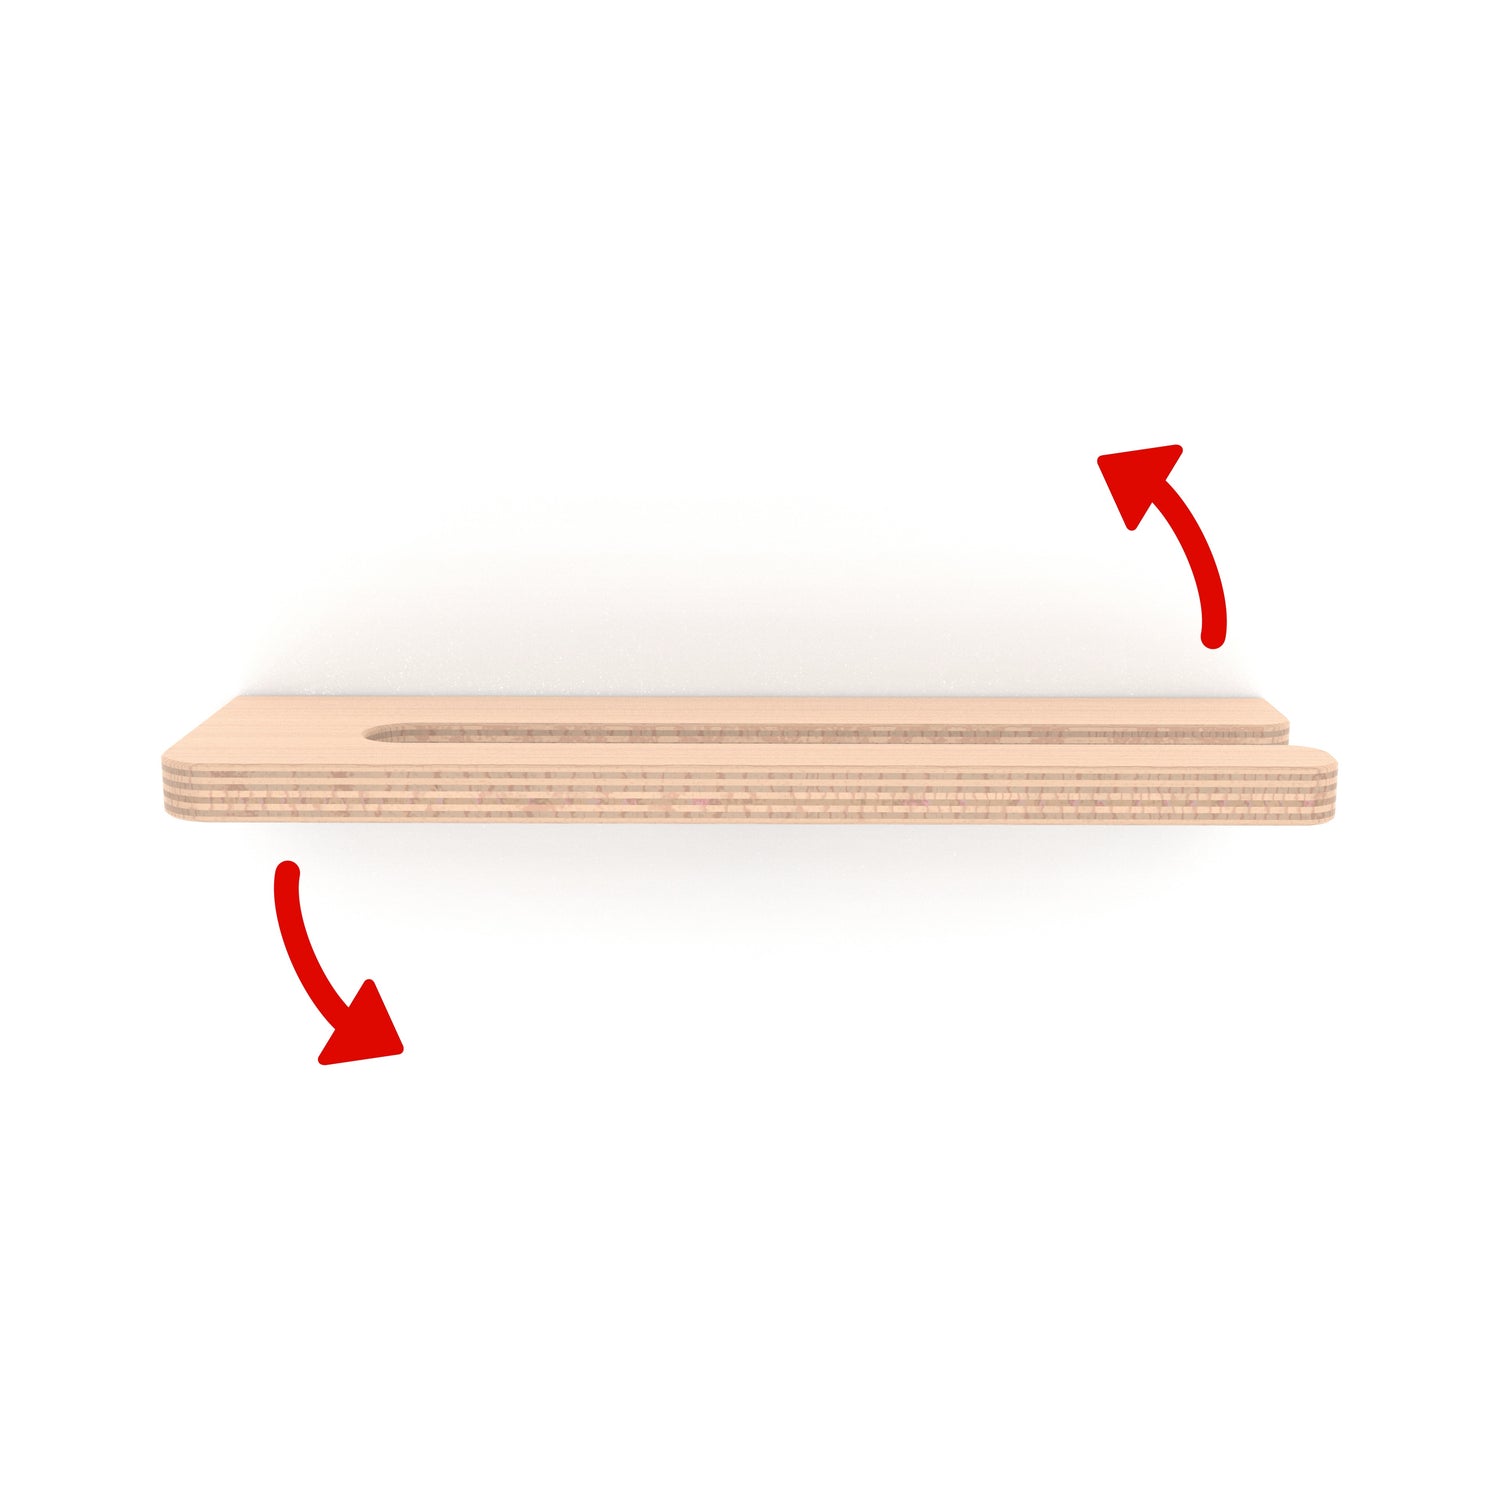
First Fastener - Screw the holder to the wall. Tighten, but ensure the holder can still rotate left and right. Next step we need to make sure the holder is level.
6.
Leveling - This can be done by standing back and "eyeballing", using the level app on a smartphone, or by using a bubble level for wood carpentry.
7.
After Leveling - Go ahead and attach the two other screws, and tighten the middle one.
8. (Optional)
If the screws feel unsteady, please remove the hanger from the wall and in each hole left behind, install the provided drywall anchor. Then, reinstall the holder.
9.
Please contact us with any questions :) Happy skating!